News Letter Sign Up

Join Our Mailing List
Email:
For Email Marketing you can trust
Showing posts with label 3D Flowers. Show all posts

Saturday, May 3, 2014

Flower Tutorial #2 by Jani

Hello my crafty friends!
I hope you have all been having fun making beautiful flowers. I am sure you noticed how a little bit of shaping petals has a big impact on your flowers.

Last time we learned how to curl the petals down. This week we are going to do some curl ups. No, you do not have to exercise. These are easy curl ups. We are literally going to turn the petals up.

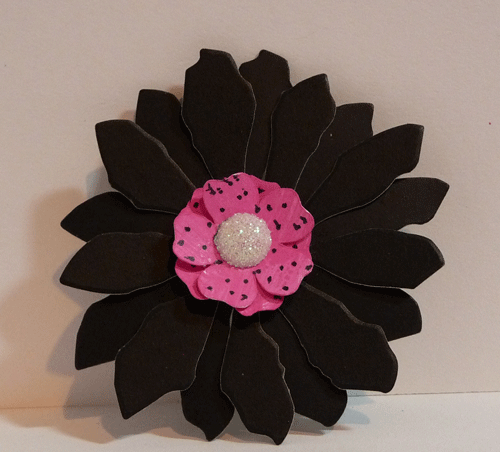
Here are 2 flowers with all the petals turned up. 


It is easy to do. Just look at these instructions


Now that was easy! Right?
Just in case you want to see it, It have links to the videos on my blog, Paper Compulsions.
You can also download a copy of these instructions, cut files for the flowers (for digital cutting machines), and templates for you to print the flower shapes out and cut them by hand. Curl Ups


Now that we have learned those 2 easy steps, let's mix it up a little and do both tricks on one flower.

Here are some examples of flowers that have some petals turned up and some petals turned down.

Here are the step by step instructions.


You can do it! I promise.


Just in case you want to see it, It have links to the videos on my blog, Paper Compulsions.
You can also download a copy of these instructions, cut files for the flowers (for digital cutting machines), and templates for you to print the flower shapes out and cut them by hand.Up and Down Flowers

Note : The downloaded files are "zipped" or compressed. This makes them easy to download. You will need to unzip or extract the files once you get them.

If you have any questions, you can always email me or ask me on the Scrapadabadoo FaceBook  page.

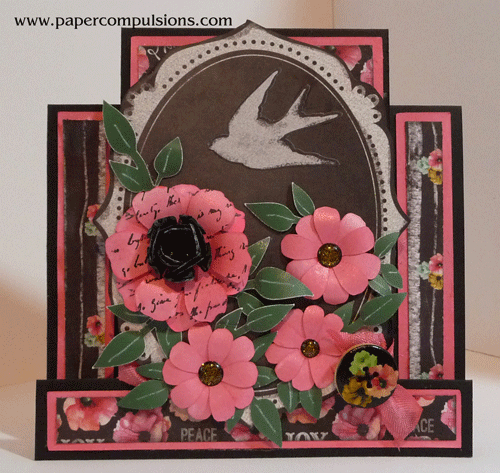
And here are a few cards with these flowers on them. 


Saturday, April 19, 2014

Easy Flower Tutorials 1


Hello Ladies! 
Jani here to share some easy flower tutorials.

If you have visited my blog, Paper Compulsions, you will know that I am a little obsessed with making my own handmade paper flowers. Truth be told, it started when I was very young. I would draw flowers on paper and cut them out to give to family. Since then I have learned how to make lots of flowers from different materials. I want to share some of that knowledge with you. I look forward to doing several flower tutorials here on the Scrapadabadoo blog over time. 

Now, I did not want to overwhelm you in this first tutorial by sharing too much of this flower power, LOL I am going to start out taking baby steps and will layer on more information in future posts. 


Today we will focus on these flat flowers pictured above and flowers that curl down pictured below.


I have written all the instructions out in a free PDF document that you can download HERE.

You will find detailed instructions in the download. Let's go over some of the basics.

First of all..don't feel intimidated. You can make any flower you want just by learning small steps and practicing. I promise.

Tools
I use a needle tool , a.k.a. paper piercer, in the flowers shown today. You could use any small smooth round tool such as a skewer, the end of a paintbrush, a bamboo skewer, or the Tonic/Tim Holtz retractable pick. If you really want to expand your flower making skills you should consider getting the McGill Stylus Set and a mat. I can talk you through making all sorts of flowers with these styluses, a mat (I use a mouse pad type mat), and household items. You can use any type of glue, but I find it really important to use a bottle with a narrow applicator tip. You can fill it with any glue you prefer.

If you want to make flat flowers for cards that can be mailed or scrapbooks that aren't too thick, I find that starting with 2 or 3 flower shapes the same size 
 

or you can start with 2 large petals and 2 smaller petals.

Be sure to stagger the petals when you stack the flower pieces. 

Now that is easy enough isn't it! :) 


Now for a simple technique...

Curling the petals down.

Use the piercing tool to press against the backside of each petal while holding your thumb against the front. Slide your thumb and the tool from the base of the petal to the tip. With a light pressure "curl" each petal downward. (Similar to pressing curling ribbon between scissors and your thumb)


 It will look like this when you are done.

Now,bend each petal straight up about 90 degrees (see figure 4) and then 
back down again. 


Repeat this for each petal. They should look like this when you are done.

With these easy steps you can shape petals in various sizes to create pretty flowers like these. I show the number of petals and sizes that you need for each.
Again, you will find step by step instructions and measurements in the PDF document. 

Here they are on the cards.


The materials used in the flowers pictured can all be found in the Scrapadabadoo online store.


The cut files for the flowers pictured today will be available on my blog.

I have some flower tutorials on my YouTube channel and will post some here on the Scrapa blog soon.  Feel free to visit the flower pages on my blog that are listed under the header.

I will also be sharing the details on the center step cards pictured at the top of this post and the other flowers on them.

Please leave comments on what you would like to see in flower and card projects.
Thanks!

Saturday, June 26, 2010

What's in a Bag?

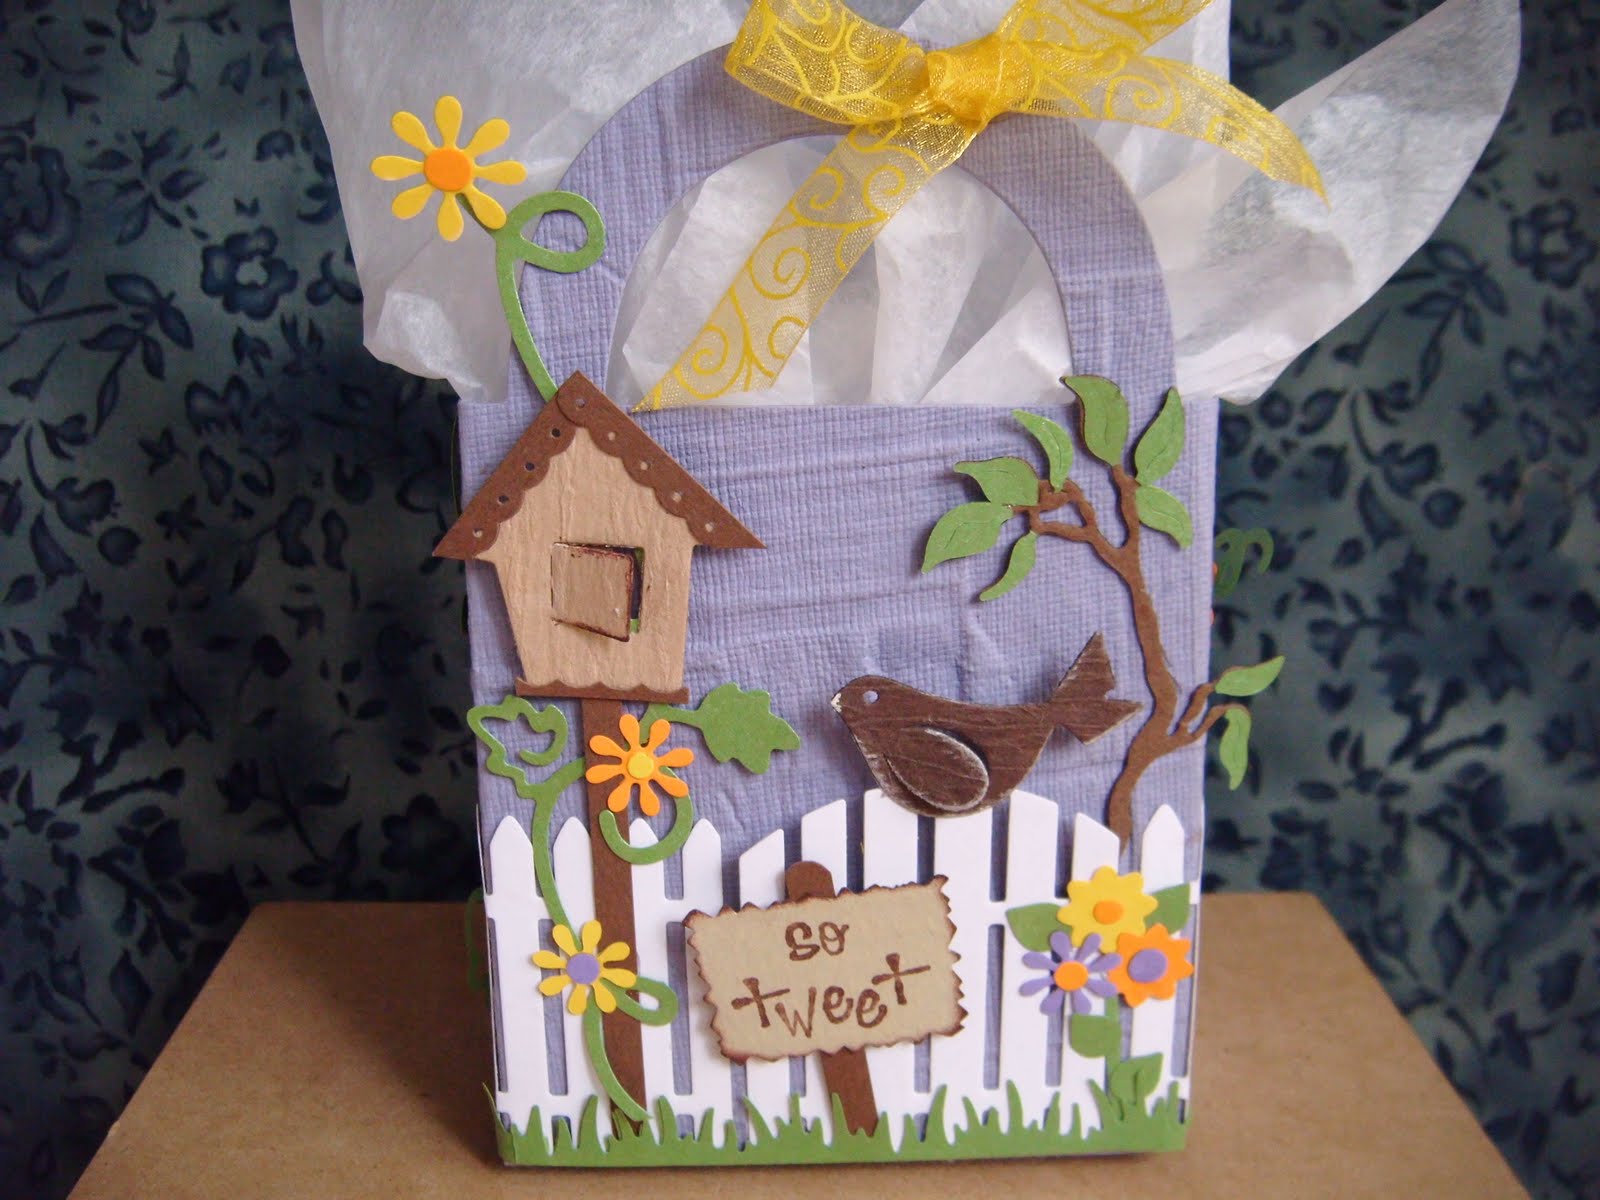
I had the little girl that lives behind me ask me to make her a gift bag for a party she was going to this weekend. I was a "tween" birthday party and she had some jewelry and hair accessories for the gift so my bag dies would cut the perfect size bag. Once I got started ...I got carried away! I wound up keeping this one and made another one for her.

I am of the belief that "too much is never enough". It's hard for me to do something simple. When I got this bag done and showed it to my hubby...he said..."It looks like your store front". I think he's right...

The 3D Flowers came in and they are almost gone. If you want one of these dies you better grab it because they allocated every vendor and when they're gone nobody knows when they will be back. I really think this is my all time favorite die. It is so versatile....I'm always trying to see what I can cut next!

The Flower Layers #5 is back in...the one for the Tim Holtz Rose...Yipee!!! I love that one too. I think I just love flowers...period. That is another fun die to experiment with different materials. See what you can come up with.

I think I am going to go dive into the new BoBunny paper and goodies that Carol just sent my way. Gosh are these gorgeous. I can hardly make up my mind. I know Carol really likes the Petal Pushers....me...I really love the Peacock Lane. Purple and turquoise just make me all warm and fuzzy....but then again...the Jazmyne is so rich and beautiful....oh I just have to see what "speaks" to me...

Have a wonderful weekend and if you make something you want to show off...please send us a picture so we can post it for everyone to see. I get bored looking at my own stuff...heeheeheee!

Toodle-oooo,
Barrie