News Letter Sign Up

Join Our Mailing List
Email:
For Email Marketing you can trust

Thursday, April 23, 2015

Mini Tag Clipboard

By Carol Hester

I have been wanting to use one of the Tim Holts Clipboard clips for quite a while and last night, playing with the Prima Halie Doll Stamp & Die set I had this wonderful idea to combine the two and make little reminder tag ..

Picture 1

I started out stamping the Doll onto the Prima Butterfly Paper and then cutting out with the die. I stamped her dress and cut it out once with the entire dress and trimmed off the ruffle.. I then stamped the ruffle again and fussy cut it to add a different color to the bottom. I highlighted both pieces with watercolor pencils from the Spring & Fall set.

I then stamped just her legs onto a floral paper and cut them out to look like her leggings.

  I stamped the two pieces of her hair onto the small wood pattern paper in the 6x6 butterfly pad and then highlighted it with a watercolor pencil from the above set.


I stamped the shoes In black and again on the same pattern as the dress and fussy cut the bows out of the pattern paper, highlighting them with watercolor pencils. I stamped the dog onto grey cardstock and highlighted it with white watercolor pencils. I stamped the bows of the shoes once again and cut them out for in her hair and on the puppy dog tail.

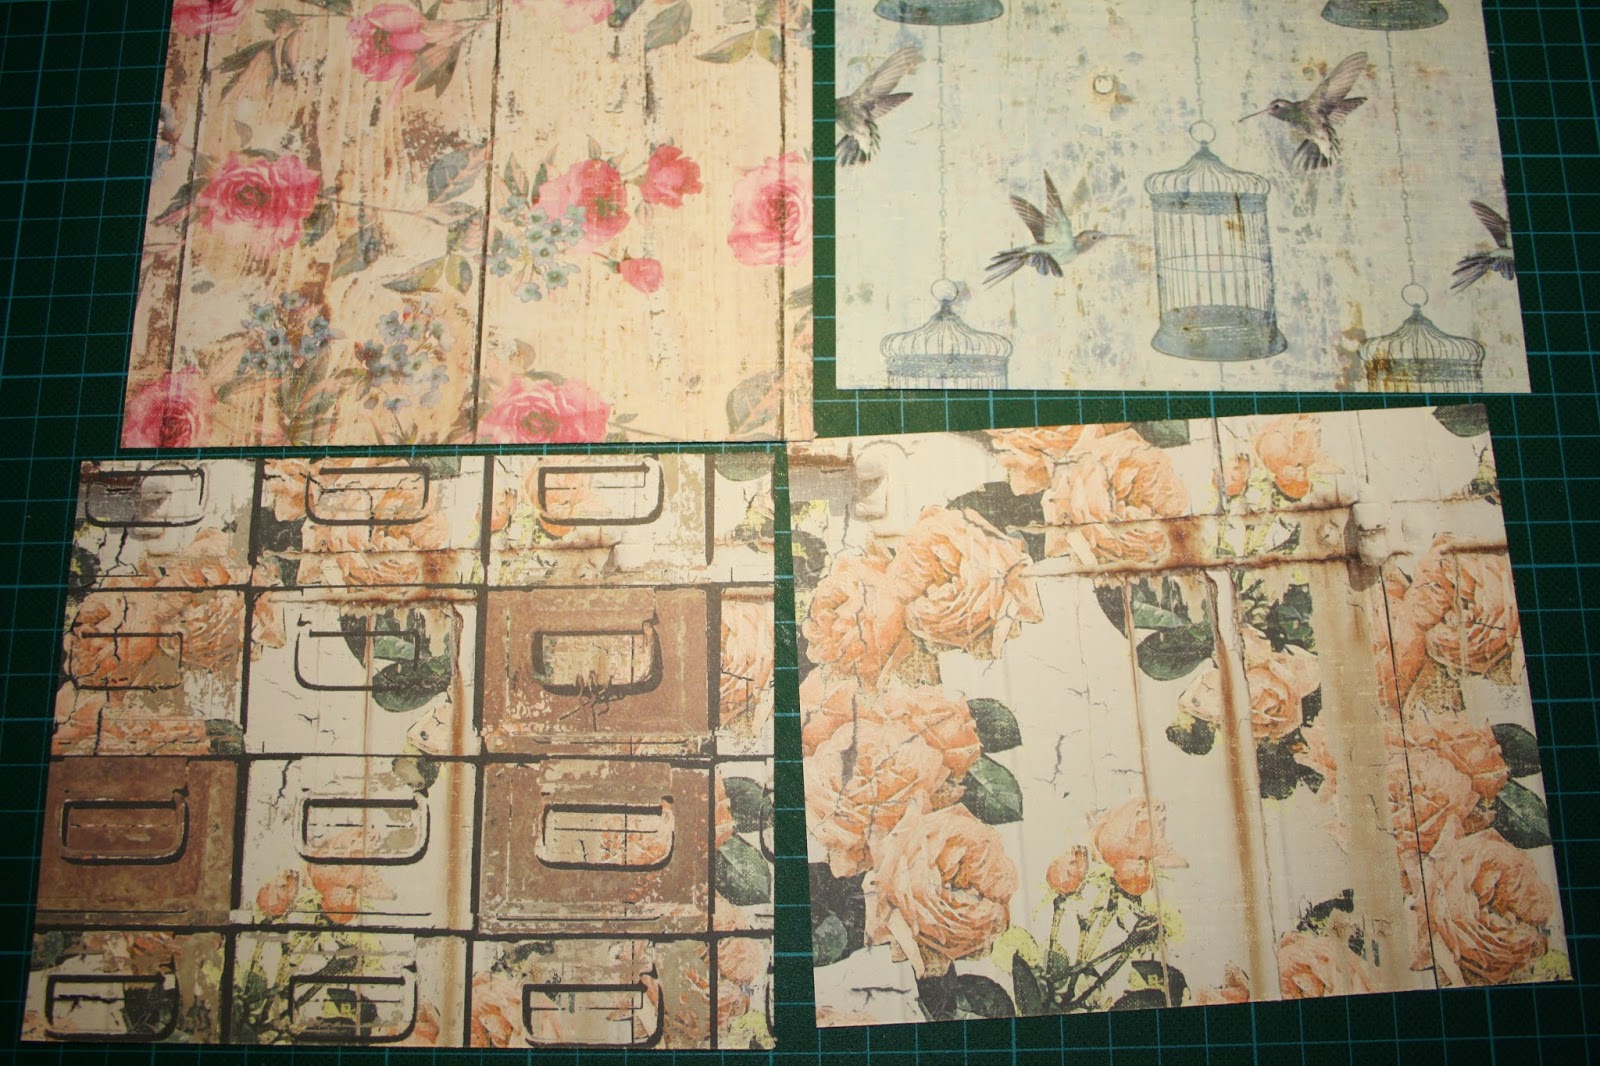
  I took the Tall Tags and covered one with the Wood grain paper from the 12x12 Butterfly Paper pack. I took the Chipboard Clip and attached it to the top using glossy accents on the back before adding brads to hold it in place.

I cut out one of the 4x6 images from the 12x12 paper and cut a piece of Acrylic to 4 1/2 x 6 1/2 and then attached the two together with brads at the corners. then tucked it under the Clipboard Clip.


Using the front gate from the Small Garden Gate Chipboard Album (you could also make a mini for on the back of the tag with the rest of the mini album) and the Sizzix Brick Wall Border Die I created the fence and sidewalk. I took only the outline from the brick wall and attached it to a tan background paper. I attached two of the crystals from the Butterfly Crystals to the the holes on the gate and then attached a Fab Scraps Mini  handle to the opposite side with my glue gun.  I attached the brick walk way down and then butted the Gate up to the top and glued the gate down using Quick Dry Glue.

DSC03093

I had the Prima Flower Spray from my Art Venture Goodie bag but you could also use any of the Petaloo ones we have in the store or the Petaloo Willow vines as well…  I glued them down with my glue gun.  I attached Halie in front of the vine, using foam tape where needed and beads of Quick dry too .

DSC03092

I made the suitcase using one of the Butterfly Matchboxes, small circles cut in half and attached to the corners and then added a cardstock handle and one of the small images from the Butterfly 6x6 pad.. and then attached it to the corner.

I finished it off by sprinkling flowers on the gate,  adding Glossy accents to her shoes and using the DCWV Chalk Markers to write a note onto the Acrylic ( this washes off with a damp cloth for the ability to add a new message.)  I know this sounds like a ton of work, but it actually only took me a little over 4 hours from start to finish ! Thanks for having a look and hope you have enjoyed my little creation 

Friday, April 10, 2015

Hanging Around by Wendy Kats

Like most parents I have a gazillion pictures of my little munchkin but I don't like to just stick them in a frame or in a book so I am forced to find new fun ways and that is what I did.
This will be a step by step on how I created this wall hanging.


First a short supply list:
* some flowers
* a piece of ribbon 


take 4 chipboard pennants


Cover them with pattern paper. If you use directional papers make sure you have two pennants with a the curve facing left and two facing right as shown.


Take four pieces of chipboard that are the same size as the pictures you are using. In my case my pictures are 5 1/4 x 4 so that is also the size of my chipboard pieces.


draw a 1/2 " edge all around.


cut out the center and repeat for the other 3.


Cut four pieces of pattern paper that are 6 1/3 x 5


Stick down your chipboard frames in the center of the pattern paper.  You should have a 1/2" edge on the outside. Cut the corners at an angle. Also cut out the center leaving an edge you can use to wrap. Add adhesive on the edges of the paper.


Wrap the outside edges first.


Now wrap the inside edges.


Repeat for all frames.


add some strong adhesive to the back of the frame.


Attach the photo to the frame.


Repeat for all photo's.


I made a mark that is 1/2 " in and 1/2 " up measuring from the  corners. So I can punch some extra holes that line up with .the holes that are already n the chipboard.


Repeat for all pennants.


Attach some foam tape to the back of the framed picture.


Place the frame on the pennant making sure you do not cover up the holes you made.


Embellish the pennants as you like.


Use the rings to connect your pennants and add some ribbon on the top one so you can hang it up.
And your wall hanging is finished.

I hope you will have fun with this little project, and i hope to see many of these on the facebook page from scrapadabadoo.

For now I say goodbye and of course...scrap on and have fun!!!

Wendy


Thursday, April 9, 2015

ATC Swap.....ROUND TWO!!!!


Yes we are going for round two!! We all had a blast with the first round and a lot of people didn’t mind a second one sooo…..let’s get started again!!
These are the few rules we do have lol.

1.   You can sign up until the 30th of April 2015.

2.   Even if you are joining for the second time you will have to sign up by mail please J

3.    To sign up you sent an email to wendykats74@gmail.com with the following information :
·      your name
·      full address (otherwise the people in your group can’t mail you’re cards )
·      the country you are in
·      and if you would mind being in an international group.

4.    On the 3rd of May 2015 you will receive an email with the people in your group. We are trying to make groups of 7 which means you will receive cards from 6 people.

5.    You will have till the 31th of May to mail your cards to the people in your group.

6.   There is NO theme for this one so you can go absolutely wild!
Once you received the information of your group it is time to get started on the fun part…making the cards!!!
Like the first time we will be making 2 ATC’s for each person in your group.

The ATC’s can be made out of chipboard, card stock, cork or anything else you can think of as long as you stick to the measurements ;)


Most of you might know this…I Love Halloween so I made me some Halloween ATC’s as an example.


The standard size of an ATC is 2 ½ x 3 ½ so we are sticking to that size. However you can always have some embellishments stick out at top or bottom or side as long as the total size doesn’t go over 3 x 4 so it will fit your box ;)

Once you have made your card make sure you do not forget to sign it on the back!! I know people would love to know who made the set J

Last step….mail the cards and wait for the postman to bring you 6 envelopes with 6 sets of cards, and here is the reason why you will have to stick to the maximum size of 3x4….

Where will you store the sets of lovely cards of this swap? Well how about this box?


The tutorial for this box will be mailed to all who sign up for the swap  so you can keep all your cards together.

I am looking forward to seeing all of your emails so I can start making the groups and get this round two rolling.

If you have any questions please let me know you can use the 
same email as the one for the sign up.

Hope to read you al soon.

Hugs, Wendy


Friday, April 3, 2015

Mother's Day Magic and Father's Day Fun by Wendy Kats

Mother’s Day Magic and Father’s Day Fun

Each year I have the same problem. What to get for mothers day and fathers day this year?
A big bouquet of roses, a box of chocolates or a photo of the grand kids for mom? A pair of socks or a bottle of wine for dad?
They will love anything I give them but why not do something different this year.
How about a nice lunch with just your mom or a day of helping your dad in the garden….take your mom shopping and go for a coffee with cake or help your dad wash the car….

We all love our parents and would do anything for them why not give them something every month?
For just this reason I have made coupon books filled with coupons for redemption each month of the year from now till next year …where you can simply refill the book with more coupons


These booklets are easy to make and I didn’t have to much trouble finding the perfect papers. For the mom version I used Fabscraps Industrial Chic and the Gentleman'sClub from Fabcraps was perfect for the dad version.
The base pages are very simple made out of A10 ( policy) envelopes.


They will both have their own booklet filled with a total of 12 coupons…one for each month and you can decide yourself what each coupon stands for. And the best thing is you can refill with new coupons once the year is passed.


And be honest, what is two days in a month to spent time with one of your parents?
I am still blessed to have both of them and now that they are getting older I feel the need to spend more time with them.
You can purchase your copy of this tutorial at Scrapadabadoo.com
Mother's Day & Father's Day Tutorial
The Tutorial also comes with the adorable coupon down load created by Jani Lewis. You will receive two E Mails, one from me, Wendy for the written tutorial, and one from Jani with the printable coupons.
 

I hope you will have as much fun making them as I had and I am sure it will be the best gift you can give this year!

Scrap on…stay safe and get messy ;)
 

Wendy