
Like most parents I have a gazillion pictures of my little munchkin but I don't like to just stick them in a frame or in a book so I am forced to find new fun ways and that is what I did.
This will be a step by step on how I created this wall hanging.

First a short supply list:
* some flowers
* a piece of ribbon

take 4 chipboard pennants

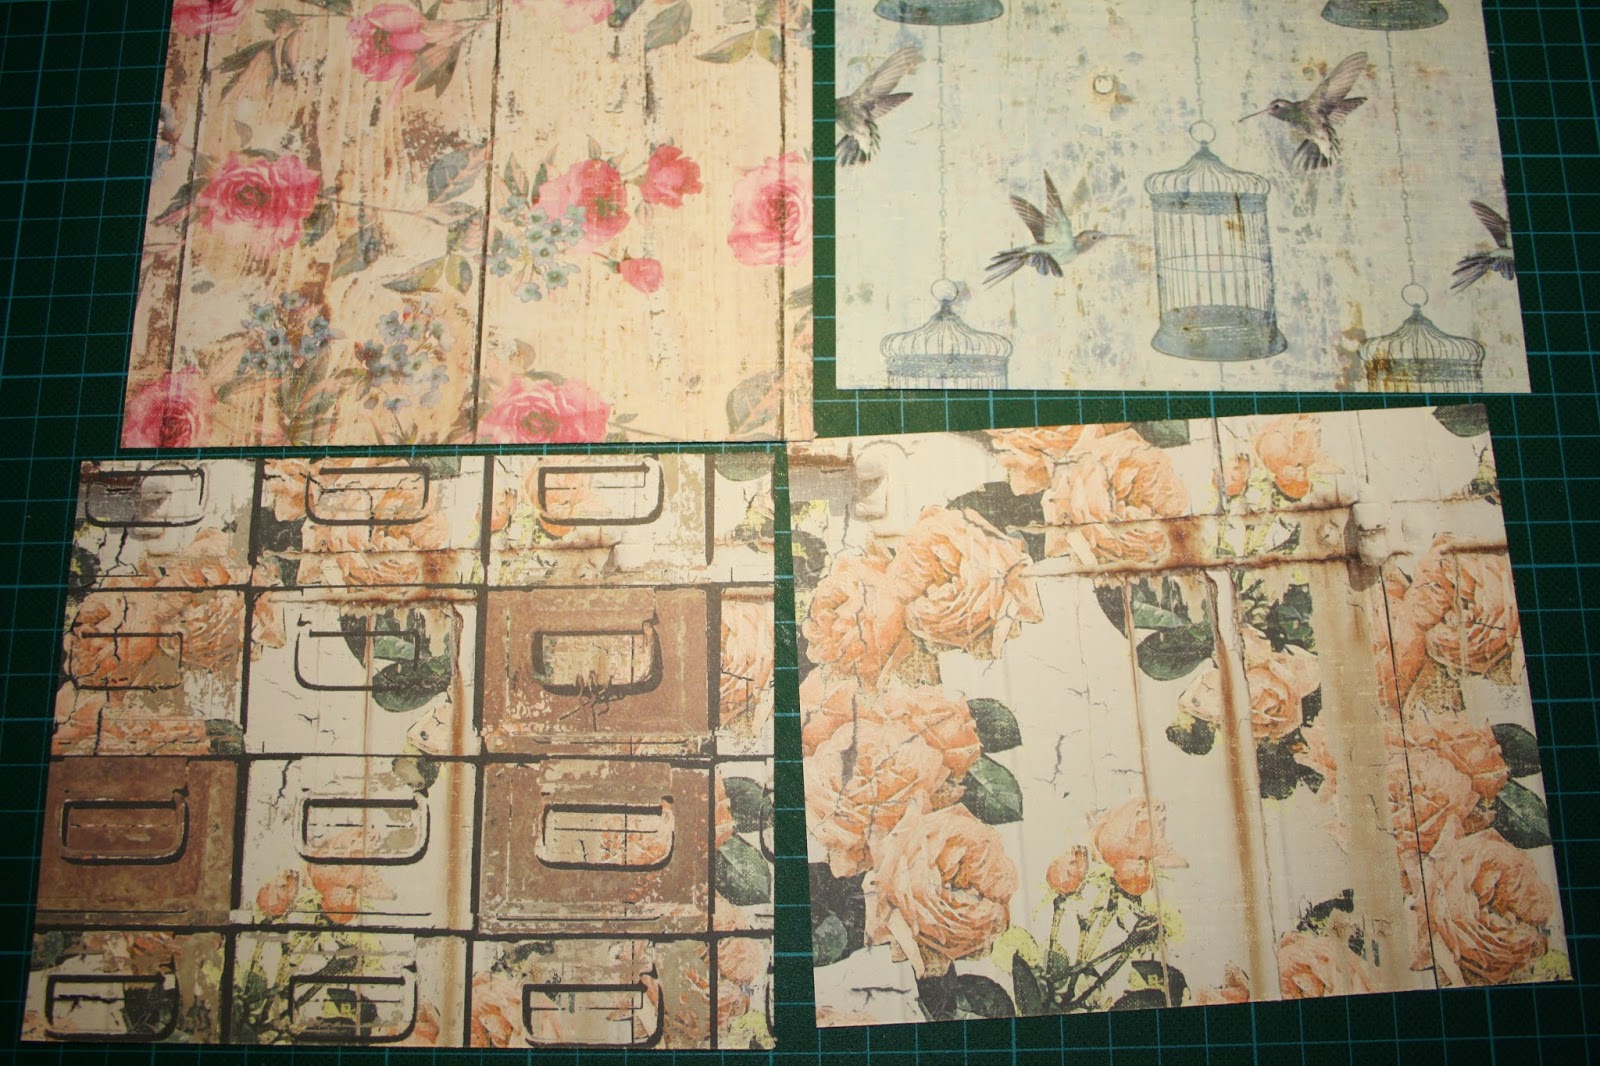
Cover them with pattern paper. If you use directional papers make sure you have two pennants with a the curve facing left and two facing right as shown.

Take four pieces of chipboard that are the same size as the pictures you are using. In my case my pictures are 5 1/4 x 4 so that is also the size of my chipboard pieces.

draw a 1/2 " edge all around.

cut out the center and repeat for the other 3.
Cut four pieces of pattern paper that are 6 1/3 x 5

Stick down your chipboard frames in the center of the pattern paper. You should have a 1/2" edge on the outside. Cut the corners at an angle. Also cut out the center leaving an edge you can use to wrap. Add adhesive on the edges of the paper.

Wrap the outside edges first.

Now wrap the inside edges.

Repeat for all frames.

add some strong adhesive to the back of the frame.

Attach the photo to the frame.

Repeat for all photo's.

I made a mark that is 1/2 " in and 1/2 " up measuring from the corners. So I can punch some extra holes that line up with .the holes that are already n the chipboard.

Repeat for all pennants.

Attach some foam tape to the back of the framed picture.

Place the frame on the pennant making sure you do not cover up the holes you made.

Embellish the pennants as you like.

Use the rings to connect your pennants and add some ribbon on the top one so you can hang it up.
And your wall hanging is finished.
I hope you will have fun with this little project, and i hope to see many of these on the facebook page from scrapadabadoo.
For now I say goodbye and of course...scrap on and have fun!!!
Wendy
This is just too cute, Wendy. I love how you put this all together and what little cuties hanging up there so nice to see. Thanks for the great tut!
ReplyDeleteThis is fabulous!!! Perfect for my little ones too!! thanks for sharing your talent with us...
ReplyDeleteThis is so cute Wendy! What a neat way to showcase some awesome photos! Thanks for sharing the wonderful tutorial!
ReplyDeleteHugs,
Jo
xox
Wendy, this wall hanging is awesome! Thank you for the tutorial! Just lovin it!!!!💞☺️💞
ReplyDelete