News Letter Sign Up

Join Our Mailing List
Email:
For Email Marketing you can trust

Saturday, May 31, 2014

Thank YOU! Everyone!!!

We just want to take a few minutes to thank all of you for making our very first Scrapadabadoo Crafts Live Broadcast a wonderful success. We couldn't be happier with the crowd and all the comments thru the day. Thanks so much for supporting us and allowing us into your life for a short while to entertain you and to visit for the afternoon.
We also want to thank our fabulous Design Team for the hard work and the beautiful projects they  made for this event. I know everyone thoroughly enjoyed themselves today
 
We hope this is just the beginning of our streaming to bring you lots of fabulous project and even some remakes on some old favorites. Please leave comments as to what you would like to see from the DT girls and see what they come up with....
 
A list of the supplies used in today's broadcasts and the cutting guides for each project can be found on each of the designer's blogs. Below are the links to the Streamer's blogs and for the  DT members that were posting to FaceBook all thru the day.
 
Zandra
 
Jani
 
Ashliegh
 
Jen
 
Margaret Ann
 
Wendy
 
Patti
 
Gwen
 
You can find all the supplies the ladies used today in the store. Check out the bonus projects that were posted to our FaceBook page during the shows I hope we have shown you several beautiful ways to use this paper line.
 
Please keep posting your lovely artwork to the Scrapadabadoo Crafts FB page. There are some amazing pieces over there and we'd love to see more!
 
Thanks again everyone and we'll be back soon with more from our wonderful  DT Artists.
 
Good Nite,
Huge Hugz,
Barrie, Carol
&
The Scrapadabadoo Design Team


Thursday, May 29, 2014

E.S.S. (Essential Scrapbooking Supplies) By Margaret Ann Moffat


Got fed up trying to find my scortape or miracle tape in the fallout of crafting on my desk.  It always hides. Sooooo decided enough is enough and made a wee holder for it.  Did a prototype to see if it would work yay and made another proper one, ooooh the original one is now holding odds and sods (odds and ends) for me to grab when I need it quickly,  Double usage.


I have slots for the variety of widths of scortape, but you can do as many slots as you wish to suit your needs. I ran out of the 2" roll so popped in my masking tape in there, hmmmm maybe another slot lol.  I also have a slot for my foam tape.

You will need patterned paper, chipboard, lots of wet glue and
construction hinges:
 3/4" score 3/8" for narrow parts,
1" score at 1/2"
and for the outside hinges 1 1/2" score 3/4"

Chipboard:

Back chipboard 4 5/8" x 8 1/8"
Front chipboard 2 1/4" x 8"
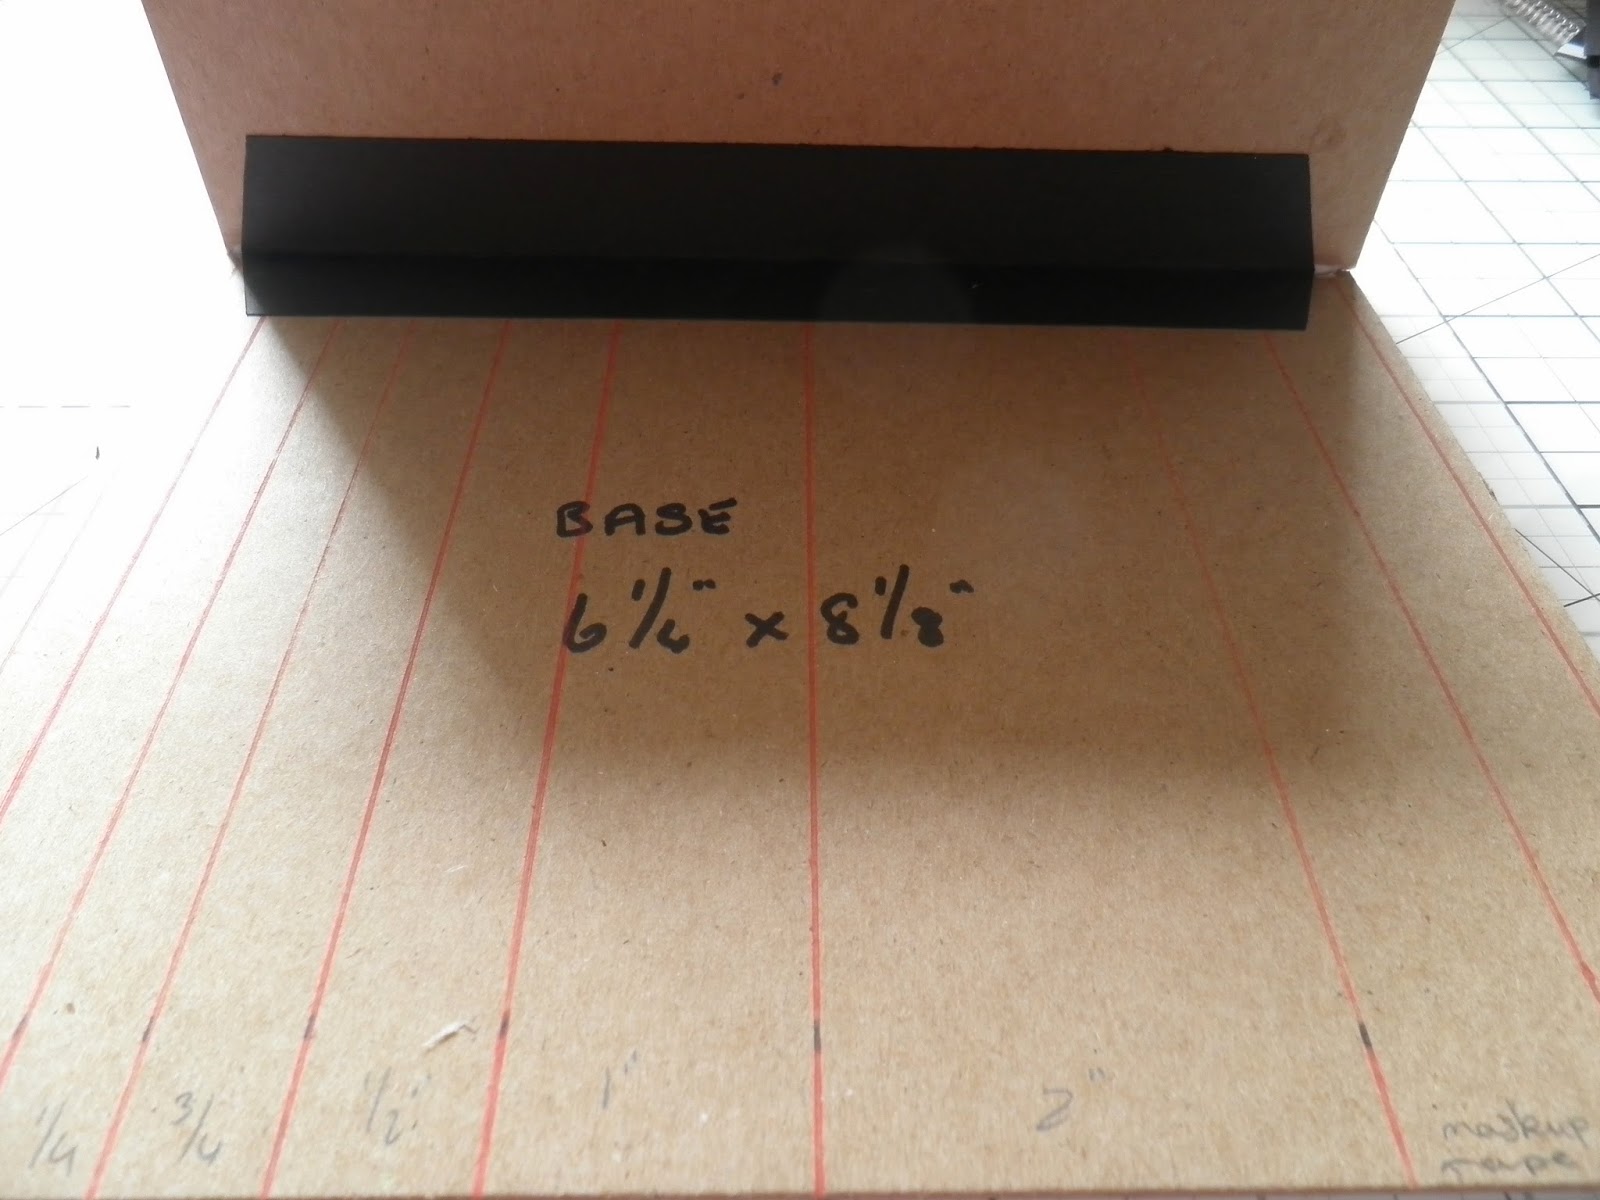
Base chipboard 6 1/4" x 8 1/8"


Sides and dividers 6" x 4 1/2"

to cut the dividers


Mark the right side at 2 1/8" up from bottom to top left, cut the top section away


Mark Base for dividers.  I have 2 sections for 1/8" tape (one for red sticky roll and one for scortape) then  1/2", 3/8", 1/2", 1", 2", and a leftover space for my rolls of foam tape.

Allow for 1/8" each end for the end pieces.  Rule of thumb add 1/4" on top of tape size to give you some wiggle room.

For mine I used:     1/8"  1/2"  1 1/8"  1 5/8"  2 3/8"  3 1/8"  4 5/8"  6 3/4"  8"

Alter to suit your needs.
Attach back chipboard a la Ashliegh Hepinstall (Scrapsbuttonsnbows) glue onto top of the chipboard, and then additional support from construction hinges with a wee bit extra glue in the grooves.
Attach the left side and then the dividers, lastly attach right side.


For the narrow spaces to be able to have constructions hinges applied a bit easier, I added the construction strip on the narrow spaces and then glue on the chipboard


To finish off the top of the chipboard I added construction strips over the tops.
 I cut it at 6 1/2" notched one side (to be flush against the back)


I added a thin strip of wet glue to enable the hinge to adhere to the chipboard fully.


I then matted the sides and dividers by making a template, I used one of the dividers and traced it onto cardstock then removed 1/8" from angle and short side.  If you want more of an edge to show remove 1/4" instead. I left the outside sides, front and back to last to hide the construction strips.


I then matted the floor of the container.  The sizes will depend on where you have placed your chipboard, it can alter slightly.


I applied glue to the edges of the dividers and to the base of the front chipoboard.  After attaching the front chipboard I added construction hinges inside, which assists in strengthening the front piece.

To help me do that I placed the box on its back and attached the front.

When this is completed you may have a little portion of the base jutting out, you can trim this off.


Decoration:
I used tissue tape top of back section and top of front section to neaten it off.  I used gilders paste in my previous one lol - of course.  I used Zip a Dee doodle collection pack to decorate.


Fill with scortape, or anything else you want