News Letter Sign Up

Join Our Mailing List
Email:
For Email Marketing you can trust
Showing posts with label flower tutorial. Show all posts

Saturday, March 7, 2015

Coffee Filter Flowers and Butterflies by Jani

Yes, I know that winter is still hanging on,
but maybe if we think of Spring it will get here faster. LOL

Let's think of flowers and butterflies
and maybe they will come.
Let's ask our kids to join in too.


Here is a fun craft that any young child would love to do with you.


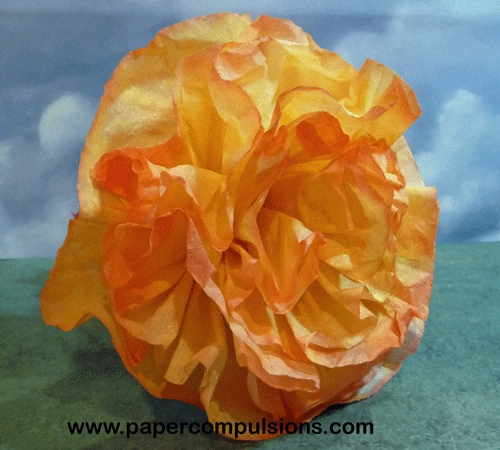
Coffee Filter Flowers and Butterflies


Here is Part 1 of the videos


Here is part 2


As you can see they are very easy.
Kids love it too. I have literally helped hundreds of kids make them when I was a teacher and they never got tired of them.


As an added bonus,
hop over to my blog to see how to make the coffee filter butterflies
a great educational activity.

Monday, July 28, 2014

Paper Tulips Tutorial by Jani


I have some fun new flowers to share with you.
Tulips!
They are super easy and fun to make.

They are versatile too.

Option 1 is the flat tulip.


     Option 2 is a bud.                                                             Option 3 is a dimensional tulip.

Here is a video on how to make the tulips.


You can see the beautiful shimmer of the Lindy's Stamp Gang sprays.
I emboss the watercolor paper before I spray it so the mica in the spray will settle in the lower areas.


Lindy's Stamp Gang sprays used:


Here is a video on how to put the card together.


You can come by my blog and download the
tulips, frame, and caption cut files and patterns.


Saturday, May 3, 2014

Flower Tutorial #2 by Jani

Hello my crafty friends!
I hope you have all been having fun making beautiful flowers. I am sure you noticed how a little bit of shaping petals has a big impact on your flowers.

Last time we learned how to curl the petals down. This week we are going to do some curl ups. No, you do not have to exercise. These are easy curl ups. We are literally going to turn the petals up.

Here are 2 flowers with all the petals turned up. 


It is easy to do. Just look at these instructions


Now that was easy! Right?
Just in case you want to see it, It have links to the videos on my blog, Paper Compulsions.
You can also download a copy of these instructions, cut files for the flowers (for digital cutting machines), and templates for you to print the flower shapes out and cut them by hand. Curl Ups


Now that we have learned those 2 easy steps, let's mix it up a little and do both tricks on one flower.

Here are some examples of flowers that have some petals turned up and some petals turned down.

Here are the step by step instructions.


You can do it! I promise.


Just in case you want to see it, It have links to the videos on my blog, Paper Compulsions.
You can also download a copy of these instructions, cut files for the flowers (for digital cutting machines), and templates for you to print the flower shapes out and cut them by hand.Up and Down Flowers

Note : The downloaded files are "zipped" or compressed. This makes them easy to download. You will need to unzip or extract the files once you get them.

If you have any questions, you can always email me or ask me on the Scrapadabadoo FaceBook  page.

And here are a few cards with these flowers on them. 


Saturday, April 19, 2014

Easy Flower Tutorials 1


Hello Ladies! 
Jani here to share some easy flower tutorials.

If you have visited my blog, Paper Compulsions, you will know that I am a little obsessed with making my own handmade paper flowers. Truth be told, it started when I was very young. I would draw flowers on paper and cut them out to give to family. Since then I have learned how to make lots of flowers from different materials. I want to share some of that knowledge with you. I look forward to doing several flower tutorials here on the Scrapadabadoo blog over time. 
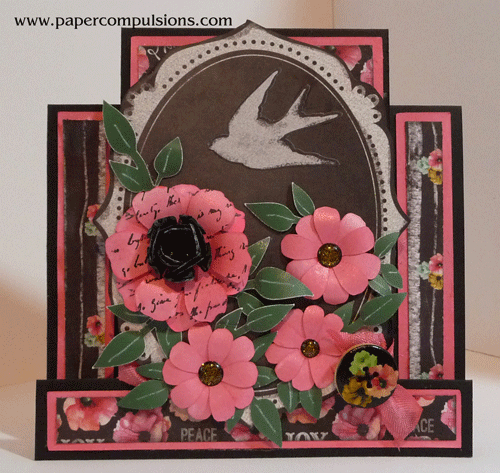
Now, I did not want to overwhelm you in this first tutorial by sharing too much of this flower power, LOL I am going to start out taking baby steps and will layer on more information in future posts. 


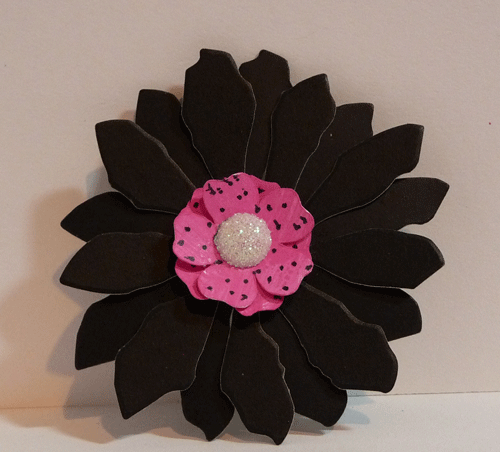
Today we will focus on these flat flowers pictured above and flowers that curl down pictured below.


I have written all the instructions out in a free PDF document that you can download HERE.

You will find detailed instructions in the download. Let's go over some of the basics.

First of all..don't feel intimidated. You can make any flower you want just by learning small steps and practicing. I promise.

Tools
I use a needle tool , a.k.a. paper piercer, in the flowers shown today. You could use any small smooth round tool such as a skewer, the end of a paintbrush, a bamboo skewer, or the Tonic/Tim Holtz retractable pick. If you really want to expand your flower making skills you should consider getting the McGill Stylus Set and a mat. I can talk you through making all sorts of flowers with these styluses, a mat (I use a mouse pad type mat), and household items. You can use any type of glue, but I find it really important to use a bottle with a narrow applicator tip. You can fill it with any glue you prefer.

If you want to make flat flowers for cards that can be mailed or scrapbooks that aren't too thick, I find that starting with 2 or 3 flower shapes the same size 
 

or you can start with 2 large petals and 2 smaller petals.

Be sure to stagger the petals when you stack the flower pieces. 

Now that is easy enough isn't it! :) 


Now for a simple technique...

Curling the petals down.

Use the piercing tool to press against the backside of each petal while holding your thumb against the front. Slide your thumb and the tool from the base of the petal to the tip. With a light pressure "curl" each petal downward. (Similar to pressing curling ribbon between scissors and your thumb)


 It will look like this when you are done.

Now,bend each petal straight up about 90 degrees (see figure 4) and then 
back down again. 


Repeat this for each petal. They should look like this when you are done.

With these easy steps you can shape petals in various sizes to create pretty flowers like these. I show the number of petals and sizes that you need for each.
Again, you will find step by step instructions and measurements in the PDF document

Here they are on the cards.


The materials used in the flowers pictured can all be found in the Scrapadabadoo online store.


The cut files for the flowers pictured today will be available on my blog.

I have some flower tutorials on my YouTube channel and will post some here on the Scrapa blog soon.  Feel free to visit the flower pages on my blog that are listed under the header.

I will also be sharing the details on the center step cards pictured at the top of this post and the other flowers on them.

Please leave comments on what you would like to see in flower and card projects.
Thanks!